Digital Microscope Camera: Complete Buying Guide 2026
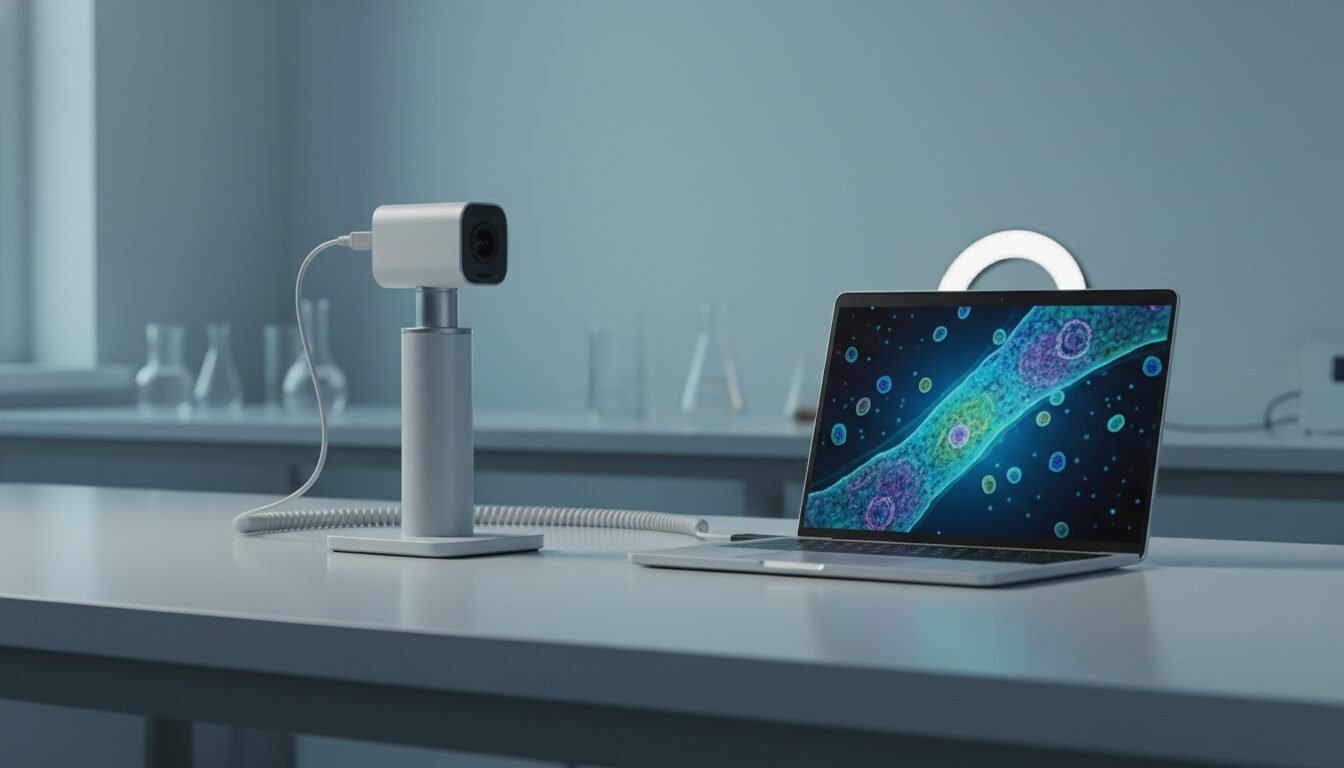
Digital microscope camera is a device that attaches to a microscope to capture still images or video to a computer, monitor, or mobile device. It replaces the traditional eyepiece, letting users view, record, and analyze specimens on a screen.
Key Takeaways
- A microscope camera converts your microscope’s optical image into a digital signal for live viewing, recording, and measurement.
- USB cameras are budget-friendly and ideal for documentation; HDMI cameras provide lag-free live viewing for precision tasks.
- Sensor size matters more than megapixels: a 1-inch sensor outperforms a 1/2.3-inch sensor even at lower resolutions.
- Prices range from $45.99 for basic eyepiece cameras to over $1,200 for advanced scientific-grade sensors.
- Always verify software compatibility with your operating system before purchasing any these camera.
- For professional pathology or fluorescence work, a minimum 10MP sensor or a CCD-based model is strongly recommended.
1. Understanding Digital Microscope Cameras
Media” class=”wp-image-9798″ loading=”lazy” width=”1792″ height=”1024″ />1.1 What Is a Digital Microscope Camera?
A such camera is an imaging tool that converts the optical image from a microscope into a digital signal. That signal displays in real time on a monitor or saves as a photo or video file. Unlike a traditional eyepiece, which requires you to peer down a tube, a digital microscope digitizes the view, making it far easier to share, measure, and archive observations. According to Microscope World, current models offer resolutions up to 20 megapixels and connectivity options including USB 3.0, HDMI, and WiFi.
1.2 Key Components: Sensor, Lens Mount, and Connectivity
Every microscope camera consists of three core components: an image sensor (CMOS or CCD), a lens mount (usually C-mount or eyepiece adapter), and a data interface (USB, HDMI, or WiFi). The sensor converts light into electrons, and its physical size, such as 1/2.3-inch or 1-inch, directly influences light sensitivity and noise performance. The C-mount is a standardized thread (1-inch diameter, 32 threads per inch) found on most trinocular microscopes, while eyepiece cameras slip into the ocular tube. Connectivity determines how you access the image: USB offers full software control, HDMI streams directly to a screen, and WiFi adds wireless flexibility.
1.3 Evolution from Optical to Digital Microscopy
Decades ago, microscopists relied on film or purely visual observation. The arrival of the these camera in the early 2000s transformed workflows by enabling instant image capture and sophisticated analysis software. Today, 4K resolution and frame rates of 30 to 60 fps allow smooth live manipulation of samples. The market now spans from $45.99 entry-level eyepiece cameras to $1,200-plus scientific-grade sensors from brands like AmScope and Levenhuk.
“A such camera’s sensor size is often more critical than its megapixel count. A 1-inch sensor will outperform a 1/2.3-inch sensor even at lower resolutions because it captures more light.” – AmScope Technical Team
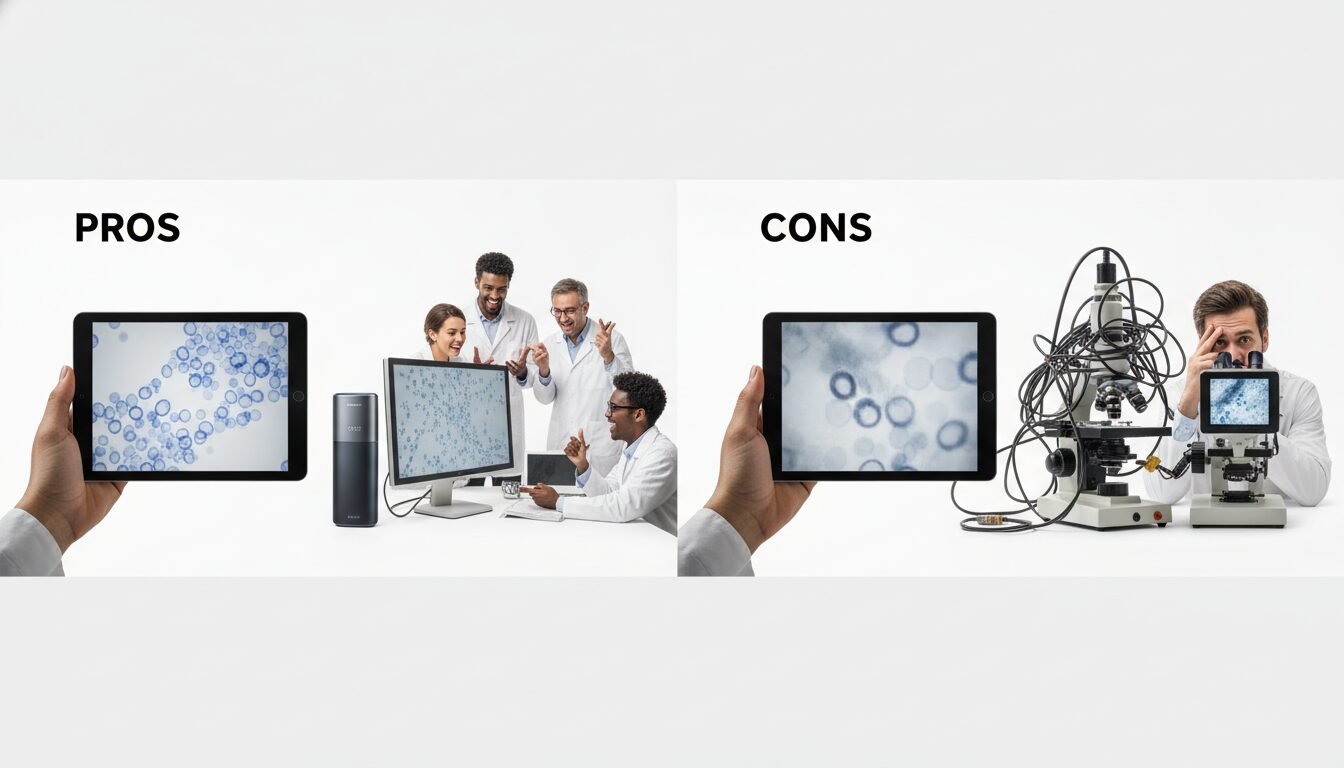
Pros and Cons of Digital Microscope Cameras
Pros
- Instant digital documentation: Capture, annotate, and archive images without film or manual sketching.
- Real-time sharing: Stream live views to monitors, projectors, or remote devices for collaborative work.
- Measurement tools: Built-in software enables precise distance, angle, and area measurements calibrated to your objective.
- Wide price range: Options from $45.99 to $1,200-plus mean there is a digital microscope for every budget.
- Multiple connectivity options: USB, HDMI, and WiFi let you match the camera to your exact workflow.
Cons
- USB latency: USB 2.0 cameras can exhibit 100 to 200 milliseconds of lag, making them less suitable for real-time procedures.
- Software dependency: Full functionality often requires proprietary drivers that may not support all operating systems.
- Adapter costs: Brand-specific adapters for Nikon, Olympus, or Zeiss microscopes can add $50 to $200 to the total cost.
- WiFi interference: Wireless cameras are subject to signal drops and are typically limited to a range of around 30 feet.
2. Types of Digital Microscope Cameras
2.1 USB Cameras: Affordable and Versatile
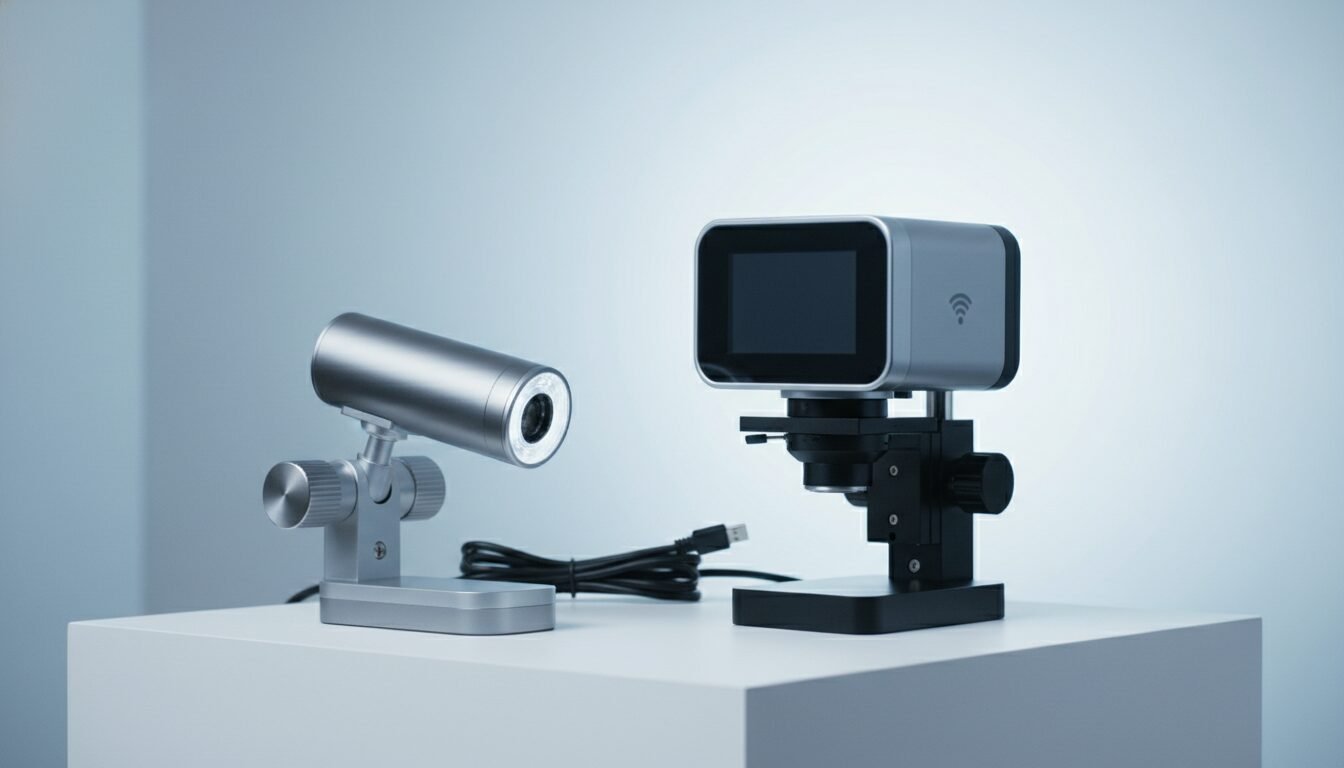
USB microscope cameras are the most common and cost-effective type available. They connect via USB 2.0 or USB 3.0 to a computer and rely on bundled software for live viewing, capture, and measurement. Prices start at $45.99 for the AmScope MD35 (0.3MP) and reach $331.99 for the 10MP AmScope MU1003 with USB 3.0. The main drawback is latency: USB 2.0 cameras often exhibit a lag of 100 to 200 milliseconds, making them less suitable for real-time dissection or soldering. USB 3.0 models offer transfer speeds up to 5 Gbps, ten times faster than USB 2.0’s 480 Mbps, which greatly reduces that delay.
2.2 HDMI/4K Cameras: High-Speed Live View
HDMI microscope cameras connect directly to a monitor or TV, providing a lag-free, high-definition video feed. They typically support 1080p at 60fps or 4K at 30fps, and save images to an SD card or USB drive at the press of a button. The AmScope HD408U delivers 4K 30fps recording for $474.99. These cameras are ideal for live presentations, complex procedures, and educational settings where multiple viewers need to see the sample simultaneously. Because they bypass the computer’s processing pipeline entirely, you avoid the latency that is inherent in USB-based these cameras.
2.3 WiFi Cameras: Wireless Convenience
WiFi such cameras stream images wirelessly to smartphones, tablets, or PCs. The AmScope WF100 (720p, $139.30) and OMAX A35720WF (720p, $202.99) connect over a local WiFi network, allowing multiple devices to view the feed simultaneously. They work well for collaborative work, remote consultations, and research teams that need to share real-time views across a room or building. That said, WiFi cameras can suffer from signal interference and are typically limited to a range of around 30 feet, so for the most stable connection, HDMI or USB remains the preferred choice.
2.4 SLR and Mirrorless Camera Adapters: Highest-Quality Stills
For researchers who need the absolute best still-image quality, adapting a DSLR or mirrorless camera to a microscope’s C-mount port is a proven approach. According to Microscope World, SLR-based setups produce the highest resolution single-frame captures available, because full-frame or APS-C sensors are significantly larger than the 1/2.3-inch chips found in most dedicated digital microscopes. The trade-off is cost and complexity: you need a T-mount or C-mount adapter specific to your camera brand, and live video functionality is limited compared to purpose-built microscope cameras. This approach suits materials science, geology, and high-end pathology labs where a single publication-quality image matters more than continuous video.
3. Choosing the Right Connectivity for Your Workflow
3.1 USB 2.0 vs. USB 3.0: Speed Comparison
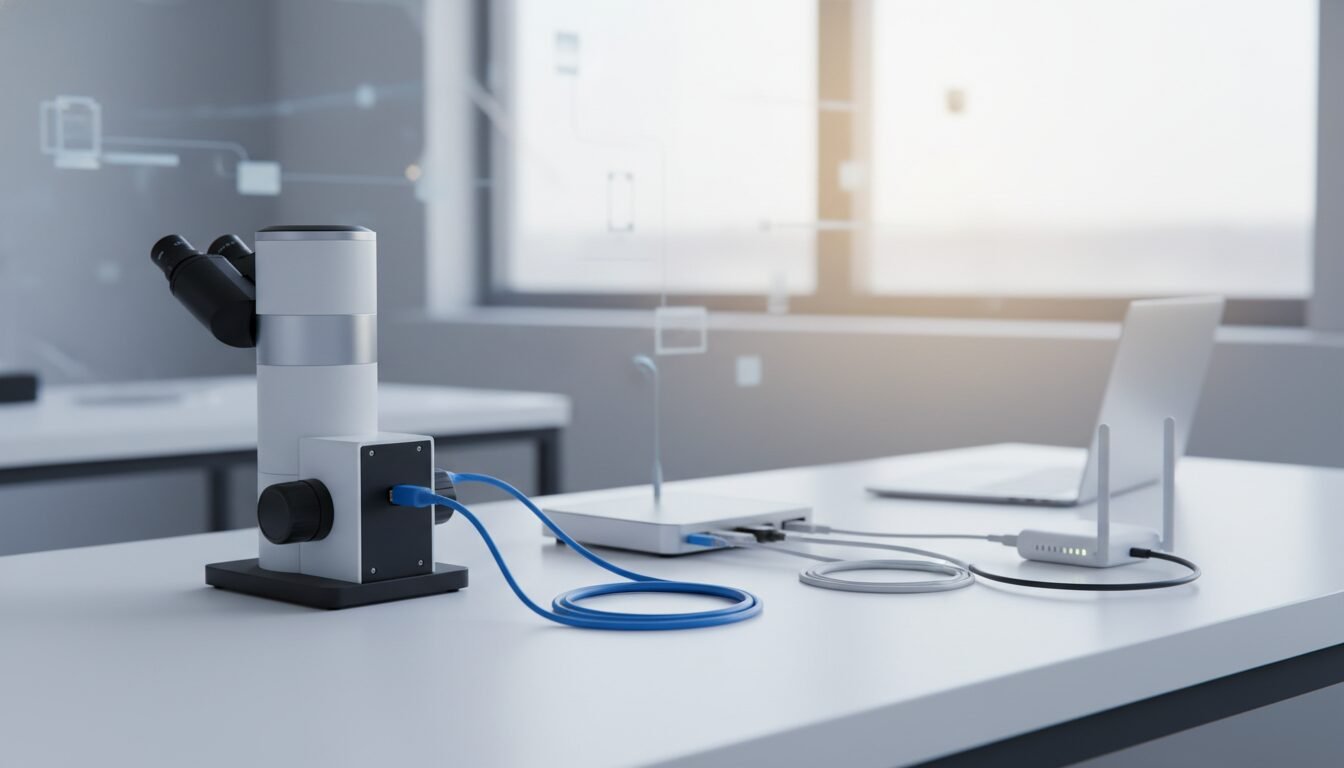
USB 2.0 has a maximum theoretical bandwidth of 480 Mbps, while USB 3.0 raises this to 5 Gbps. In practice, a 5MP image at 15fps requires roughly 225 Mbps, which USB 2.0 can handle. A 20MP image at 30fps demands well over 1.8 Gbps, far exceeding USB 2.0’s capability. For high-resolution or high-speed applications, USB 3.0 is essential. The OMAX A3550U3 (5MP, $244.99) and AmScope MU1003 (10MP, $331.99) both use USB 3.0 for smooth live previews. By contrast, the Levenhuk M500 BASE (5MP, $169.95) uses USB 2.0, which is adequate for occasional image capture but not for real-time video streaming.
3.2 HDMI for Lag-Free Live Work
HDMI connectivity removes the computer from the video path entirely. A dedicated HDMI microscope camera, like the AmScope HD182-BI ($267.99, 1080p), sends uncompressed video directly to a monitor with virtually no detectable delay. This matters for technicians performing microsoldering, dissection, or quality inspection. Many HDMI cameras also include a USB port for simultaneous image capture, so you can save files directly to a flash drive without interrupting the live view.
3.3 WiFi and Tablet Options for Flexibility
Wireless and tablet-based systems prioritize mobility over raw speed. The OMAX CPZJ-150R ($768.99) combines a 5MP these camera with a 9.7-inch integrated Android touchscreen, featuring measurement apps and WiFi for file transfer. The AmScope CP480 ($749.99) offers a 13.3-inch screen with a built-in camera. These all-in-one solutions are popular in outpatient clinics, field research, and classrooms where a traditional computer setup is impractical.
“When we designed our MAGUS line, we focused on versatility: the CBF70 model delivers 20MP resolution with a large sensor and supports both USB 3.0 and HDMI output, so researchers can choose the interface that best fits their setup.” – Levenhuk Product Development
4. Resolution and Sensor Technology: What Matters
4.1 Megapixels: How Many Do You Need?
Resolution is often the first spec buyers check when selecting a such camera. A 0.3MP camera like the AmScope MD35 ($45.99) yields 640×480 images, fine for basic documentation but grainy when enlarged. For clear, publication-quality images, a minimum of 5MP (2560×1920) is recommended. The AmScope MD500 (5MP, $117.99) and Levenhuk M500 BASE (5MP, $169.95) strike a solid balance between detail and cost. Above 10MP, you can crop or zoom into images without losing clarity, which is valuable in pathology and materials science. The AmScope MU2003-BI-CK reaches 20MP at $898.99, offering near-laboratory-grade output.
4.2 Sensor Size and Type: CMOS vs. CCD
Sensor size is measured in fractions of an inch. A 1-inch sensor has roughly four times the light-gathering area of a 1/2.3-inch sensor, producing less noise and better dynamic range. Most digital microscopes use CMOS sensors for their speed and lower power consumption. CCD sensors, found in the OMAX A3550UPA (5MP, $1,067.99), excel in low-light applications like fluorescence microscopy. CCDs produce images with higher signal-to-noise ratios but at a significant price premium: CCD cameras typically cost twice as much as comparable CMOS models.
4.3 Frame Rate Considerations
For live imaging, frame rate is as critical as resolution. A microscope camera that captures 1080p at 60fps, like the OMAX A3520HDLT ($256.99), provides fluid motion, whereas 30fps can appear slightly jittery during fast movements. For 4K, most cameras top out at 30fps, which is sufficient for the majority of microscopy tasks. USB cameras often drop to 5 to 15fps at full resolution due to bandwidth limits, so check the spec sheet carefully if you need real-time feedback.
4.4 Fluorescence and Low-Light Camera Selection
Fluorescence microscopy demands a specialized these camera with high sensitivity and low read noise. Standard CMOS cameras struggle with the faint signals produced by fluorescent dyes. CCD-based cameras like the OMAX A3550UPA ($1,067.99) are purpose-built for this work, delivering the signal-to-noise performance needed to resolve dim fluorescent markers. Back-illuminated CMOS sensors, such as those in the AmScope MU2003-BI-CK ($898.99), offer a more affordable middle ground: BSI architecture improves light collection by moving the wiring layer behind the photodiodes, boosting sensitivity without the full cost of a CCD. For fluorescence setups, plan for longer exposure times of up to 2 seconds and ensure your software supports multi-channel image acquisition.
5. Mounting and Compatibility
5.1 C-Mount vs. Eyepiece Cameras
C-mount cameras thread directly onto a microscope’s trinocular port or photo tube, replacing the eyepiece with a secure, centered optical path. They typically include a reduction lens to match the sensor size to the microscope’s image circle. Eyepiece cameras, by contrast, slide into the ocular tube just like a regular eyepiece. They are simpler to install and remove, but they can introduce slight vignetting or alignment issues. AmScope’s MD series (MD35, MD300, MD500) are all eyepiece cameras, while the MU and HD series are C-mount designs.
5.2 Adapters and Compatibility with Major Microscope Brands
Most microscopes with a trinocular port (23mm or 30mm diameter) can accept a C-mount such camera with the correct adapter. Brands like Nikon, Olympus, and Zeiss may require brand-specific adapters costing $50 to $200. Always confirm your microscope’s eyepiece tube diameter and whether a reduction lens is needed. The Levenhuk A10 smartphone adapter ($44.95) offers a quick alternative: it clamps a phone over the eyepiece, turning any mobile device into a basic digital microscope camera for casual or field use.
6. Software and Image Analysis
6.1 Measurement and Annotation Tools
Most USB digital microscope cameras include software suites for Windows, Mac, and sometimes Linux. These programs enable live measurement of distances, angles, and areas directly on the captured image, calibrated to the microscope’s objective. AmScope’s MU series comes with a robust application supporting multi-layer annotations and image stitching. Levenhuk’s cameras bundle a “Levenhuk Lite” editor for basic adjustments. Recording at up to 4K 30fps is possible with many premium models, making them suitable for creating instructional content or archival datasets.
6.2 Compatibility with Windows, Mac, and Linux
Before buying any digital microscope camera, check operating system support carefully. Many cameras are plug-and-play on Windows, but Mac users may need specific drivers. Linux compatibility is less common but growing. OMAX explicitly lists support for all three operating systems across its product line, while AmScope’s MU series works on Windows and Mac with limited Linux functionality. Always download the latest drivers from the manufacturer’s website to ensure smooth operation from day one.
7. Top Brands and Models to Consider in 2026
The market offers a wide range of digital microscope cameras from budget-friendly to high-end. Below is a comparison table of popular models, followed by detailed breakdowns by price tier.
| Brand | Model | Resolution | Sensor Type | Connectivity | Price (USD) |
|---|---|---|---|---|---|
| AmScope | MD35 | 0.3 MP | CMOS | USB 2.0 | $45.99 |
| Levenhuk | M500 BASE | 5 MP | CMOS | USB 2.0 | $169.95 |
| OMAX | A3550U | 5 MP | CMOS | USB 2.0 | $214.99 |
| AmScope | HD408U | 4K (8 MP) | CMOS | HDMI, USB | $474.99 |
| Levenhuk | M1200 PLUS | 12 MP | CMOS | USB 2.0 | $639.95 |
| AmScope | MU2003-BI-CK | 20 MP | CMOS (BSI) | USB 3.0 | $898.99 |
| OMAX | A3550UPA | 5 MP | CCD | USB 2.0 | $1,067.99 |
| MAGUS (Levenhuk) | CBF70 | 20 MP | CMOS | USB 3.0, HDMI | $1,219.95 |
7.1 Entry-Level Options (Under $200)
For hobbyists and introductory classroom use, eyepiece cameras under $200 provide a low-cost entry point into digital microscopy. The AmScope MD35 ($45.99) captures basic images, while the Levenhuk M300 BASE ($159.95) offers 3MP for slightly more detail. These digital microscope cameras are ideal for documenting insect specimens, coins, or simple pond life. They lack high frame rates and advanced software, but for basic capture and documentation they are perfectly adequate.
7.2 Mid-Range and Professional Cameras ($200–$800)
Moving into the $200 to $800 bracket unlocks 5MP to 12MP sensors and USB 3.0 or HDMI connectivity. The OMAX A3550U3 (5MP, $244.99) delivers fast USB 3.0 transfer, while the AmScope HD408U (4K, $474.99) brings 4K live viewing to the bench. These are the workhorses of quality control labs, veterinary clinics, and university biology departments. The Levenhuk M1200 PLUS ($639.95) with its 12MP sensor is a strong choice for pathology slide scanning and archival work.
7.3 High-End Scientific Cameras ($800+)
Above $800, you enter the professional research tier. The AmScope MU2003-BI-CK ($898.99) uses back-illuminated CMOS for exceptional low-light sensitivity, while the MAGUS CBF70 ($1,219.95) combines 20MP resolution with dual HDMI and USB 3.0 output. For fluorescence or low-light applications, the OMAX A3550UPA CCD camera ($1,067.99) delivers the high signal-to-noise ratio required to capture faint signals. These digital microscope cameras often integrate with advanced quantitative analysis software and are built to withstand continuous use in core imaging facilities.
8. How to Set Up Your Digital Microscope Camera: Step-by-Step
Step 1: Choose the Right Adapter
First, identify your microscope’s camera port. If it has a trinocular port with a C-mount thread, you can attach a C-mount digital microscope camera directly. If using an eyepiece camera, remove one eyepiece and insert the camera body. For a smartphone, use a dedicated adapter like the Levenhuk A10 ($44.95). Ensure the adapter’s diameter matches your eyepiece tube, commonly 23.2mm or 30mm. Some C-mount cameras include a 0.5x reduction lens to match the sensor to the microscope’s image circle; install it before mounting the camera.
Step 2: Install Software
For USB and WiFi cameras, install the manufacturer’s software before connecting the digital microscope camera. Most brands provide a download link or a CD. On Windows, allow the driver installation when prompted. Mac users should check the disk image file for the correct driver version. Linux users may need to compile from source or use a generic webcam application, though advanced measurement features may not be available. Restart your computer after installation if prompted.
Step 3: Adjust Settings for Optimal Imaging
After connecting the digital microscope camera, open the software and adjust exposure, gain, and white balance. Place a calibrated stage micrometer under the microscope to set the scale for measurements. If using an HDMI camera, navigate its on-screen menu via the included remote or buttons to set resolution, frame rate, and output format. Insert an SD card for image capture. Test the live view: if the image is too dark, increase exposure time or add supplementary lighting. For fluorescence work, set a long exposure of up to 2 seconds and use high ISO sensitivity. A properly configured digital microscope camera will save you time and improve the quality of every documentation session.
Frequently Asked Questions
Can I use a digital microscope camera with any microscope?
Most microscopes with a removable eyepiece or trinocular port can accept a digital microscope camera. You may need an adapter specific to your microscope’s brand and tube diameter. Always confirm compatibility before purchasing to avoid costly returns.
What is the difference between a digital microscope and a digital microscope camera?
A digital microscope is a complete system with a built-in camera and often its own optics and display screen. A digital microscope camera is an add-on that attaches to an existing optical microscope to digitize its image. The add-on approach lets you upgrade imaging capability without replacing your existing optics.
How do I connect a microscope camera to my phone?
Use a WiFi-enabled digital microscope camera like the AmScope WF100 and its companion app, or attach your phone directly to the eyepiece with a smartphone adapter such as the Levenhuk A10 ($44.95). The WiFi approach streams live video to the phone’s screen, while the adapter is a purely optical solution.
What resolution do I need for professional pathology?
For digital pathology, a minimum of 10MP is recommended to capture fine tissue details. A 20MP digital microscope camera, such as the AmScope MU2003-BI-CK ($898.99), provides the resolution needed for whole-slide imaging and publication-quality documentation.
Do I need special software to use a USB microscope camera?
Yes, most USB digital microscope cameras require proprietary software for full functionality including measurement and annotation. Third-party applications like ToupView may also work with compatible hardware. Always check software compatibility with your operating system before purchasing.
Are WiFi microscope cameras secure?
WiFi digital microscope cameras create a local network, so setting a strong password is essential to prevent unauthorized access. For sensitive research environments, a wired USB or HDMI connection is more secure and more reliable than any wireless option.
Ready to find the right digital microscope camera for your lab, clinic, or classroom? Contact Emin Media for a free brand consultation and let our team help you build a documentation and visual content strategy that makes your work impossible to ignore.
Enjoyed this article?
Contact Emin Media for a free brand consultation and let's create something amazing together.
Get in Touch